

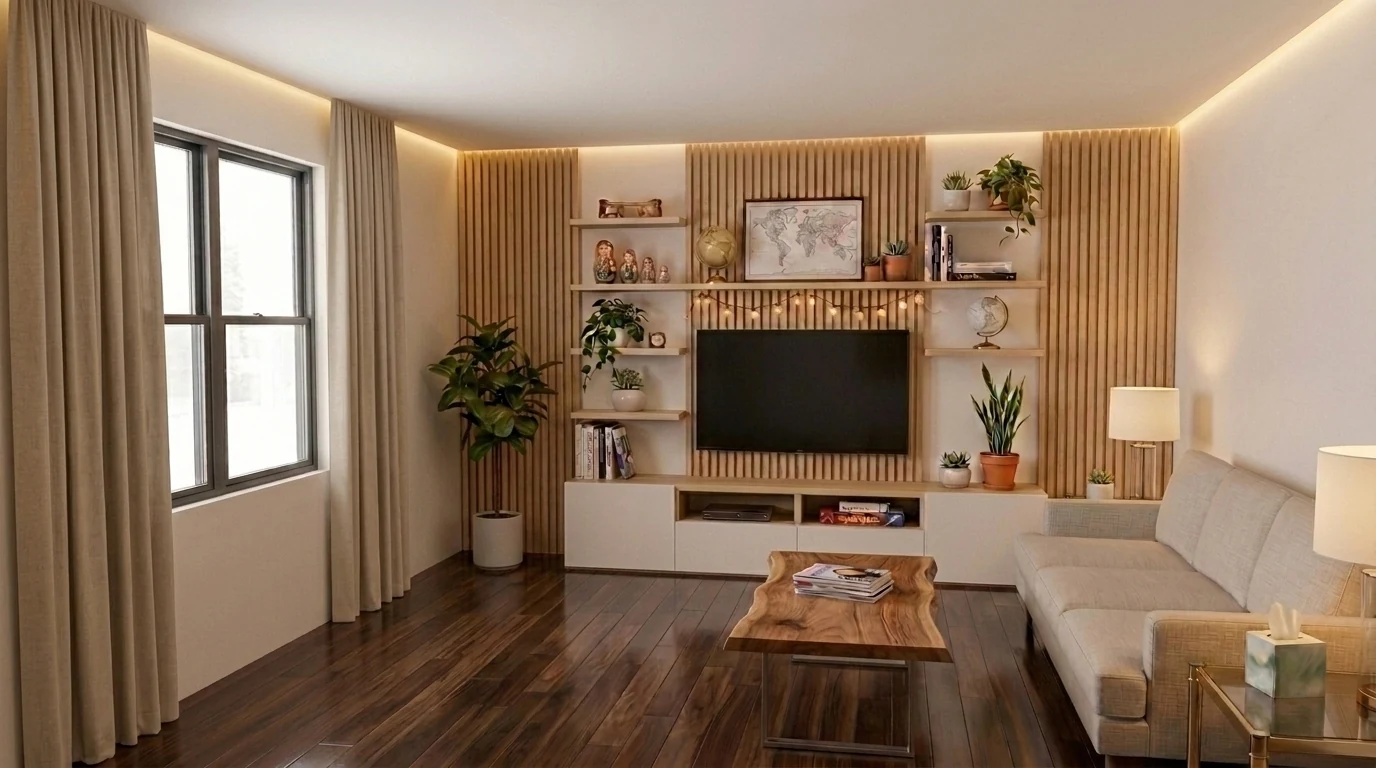
Don't approve demolition from an AI render. Don't order fitted cabinets from one either, or move a bathroom because the picture makes it look straightforward. Before you spend anything, check what the image has assumed.
With Briller, I want you to work out how a design would be built before you commit to it. If the dishwasher blocks the passage, the kitchen doesn't work. You still need somewhere to put the ventilation duct.
Use our renders to decide what you want to change in the room. They can't measure your room, and they can't inspect its structure or locate concealed services. Briller uses the existing walls and openings to constrain the design. Check the result against your room's measured geometry.
A convincing image can still be wrong
Check the kitchen island. Does it fit the actual room, or has the image made the room wider to squeeze it in? At the opening between the kitchen and living room, you need to know what's carrying the load above, just as you need to know how much ceiling space the concealed lighting will take.
Ask where the geometry came from. An image generated from a room photo has no surveyed dimensions unless someone has established them separately. A render made from a measured, coordinated model starts with different information, and you can't tell what's been checked just by looking at the finished picture.
I want these questions answered while changes are still easy to make. Keep the oak cabinets and lighting direction you like. Check the building constraints before you commit to either.
Five checks before you approve work
Check 1: Has the room changed shape?
Put the original photo beside the render and leave the styling alone for a minute. Look at the building itself:
- Count the windows and doors, then compare their positions and proportions.
- Follow the wall corners and ceiling edges. Include the columns and service enclosures.
- Look for a widened room or a missing projection. Have the cabinets become shallower?
- Check whether mirrors and adjoining views describe the same space.
If a fixed feature has moved, sort that out before spending more time on the finishes.
Now put the layout on a measured plan, using the actual furniture dimensions and showing appliance doors open so you can check the space people need to use them. Open the dishwasher. Can you still get through the narrowest passage? If you're planning a desk, pull the chair back on the drawing rather than leaving it tucked neatly underneath.
Get the existing room recorded properly, including openings and floor levels as well as ceiling heights and the underside of beams. RICS treats these as separate survey features. A measurement taken in the middle of the room won't tell you how much height you've got under the beam above your proposed doorway.1
Check 2: What holds up the building?
An AI image can erase a wall without providing anything to carry its load. Check how the load will be supported before demolition starts.
Get a structural engineer to establish what carries the load and design the support needed for the alteration. A replacement beam needs suitable bearings and supports, with a load path that continues down to the foundations.2
Ask for the structural design whenever the concept removes a wall or column. The same applies if the image hides a deep beam in a flush ceiling or adds substantial weight. Get those decisions into the drawings and the price before work starts.
You can use Briller's open-plan layout concepts to compare a partial opening with full removal. Choose the opening you prefer, then ask the engineer what support it needs.
Check 3: Where do the services go?
Work out the drainage before committing to its new position. Ask the plumber to mark the connection and the route, including the fall the pipe needs, because pipe size and gradient affect how much a gravity drainage system can carry. You also need access to clear blockages.3
Have the plumber show you what the route means for the room. It might need a raised floor or a service box, or it might conflict with the structure. Include any access panels. Have the route checked before passing a pipe through a joist or slab, even if it's the shortest way.
Your electrician needs to confirm the supply capacity and circuit arrangements, including protective devices and the locations of the proposed fittings. Get inspection and testing into the scope as well.4
Follow the ventilation duct all the way to its termination point, with space for the equipment and access for maintenance. An extractor can look perfectly tidy above an island while the image tells you nothing about where its duct goes above the ceiling.
Check 4: How much ceiling height will you actually have?
Measure the height you'll be left with, from finished floor to finished ceiling. Check the lowest beam or bulkhead too.
Concealed lighting needs installation space, and so do curtain pockets and ventilation. New flooring takes space from below. Draw both assemblies before agreeing to the ceiling detail so you can see what the combined buildup does to the room.
Here's an example where the existing floor and ceiling stay as the reference surfaces and new finishes are added over them:
| Item | Dimension |
|---|---|
| Existing clear height | 2,480 mm |
| Additional floor buildup | -35 mm |
| Ceiling lowering | -120 mm |
| Finished clear height | 2,325 mm |
You've lost 155 mm. That won't necessarily jump out at you in the render.
Ask for a section through the lowest point and check the finished height against your project's requirements. Use the example to follow the arithmetic, then check the height your own room needs to meet. If you're stripping out existing finishes, start from the surveyed levels and calculate using the new assemblies.
Check 5: What, exactly, are you buying and installing?
Specify the material you want to use before ordering it.
For white-oak cabinet fronts, that means identifying the actual product and finish. With microcement, choose the system and work through its substrate preparation, thickness, sealing and installation instructions. Get physical samples into the room and put them beside the proposed flooring.
If you want a warm evening scheme, try 2700K and 3000K LED samples in the room. Kelvin tells you about light colour, while lumens describe light output. Picking a colour temperature won't tell you how much light reaches the worktop.5
Specify the fitting and its output, along with beam distribution, dimming compatibility and installation details. For concealed lighting, show where the profile and driver go and how you'll reach the driver for maintenance.
Briller's lighting and fixture selection workflow lets you compare placement and lighting layers. Ask your electrician to specify the fittings and installation for the option you've chosen.
How I want you to use Briller
Use each revision to clear up a specific decision.
Start with your actual room
Upload a clear photo and tell Briller what stays, including the walls and windows as well as doors and service enclosures. Add the measurements you've verified. Room analysis uses the photo as context for the design.
If you're working on a whole-home renovation, keep each room in its own project and identify the selected version and date. That way, every trade reviews the same proposal.
Give the reference a specific job
Use Moodboards & references to identify the materials and colours you want. You can use a reference for a particular detail too. Say you want white-oak cabinet fronts with matte mineral walls, then describe the warm under-cabinet lighting separately. Use the palette as a reference and keep your room's actual ceiling height and window positions.
Refine one decision at a time
Give Refine a focused instruction, either in text or by voice. Something like this:
Keep the existing window and doorway, and keep the boxed-in pipework too. Change only the cabinet fronts to white oak veneer and add warm under-cabinet lighting.
Compare the result with your original room before moving on. If the window has shifted or the service enclosure has disappeared, get it corrected.
Ask about the detail behind the look
Use Smart Sparks and Briller Insights to ask about materials and support, including how a detail gets installed and how you'll access it for maintenance. Look at the Economy guidance to identify details worth pricing, then compare the Standard and Premium options. Use Shop the Look to shortlist products, then check their model numbers and dimensions.
Ask what supports the shelf and where the lighting driver goes. If you're looking at a finish, find out which substrate it needs. Give those answers to the designer and to whoever will price or install the work.
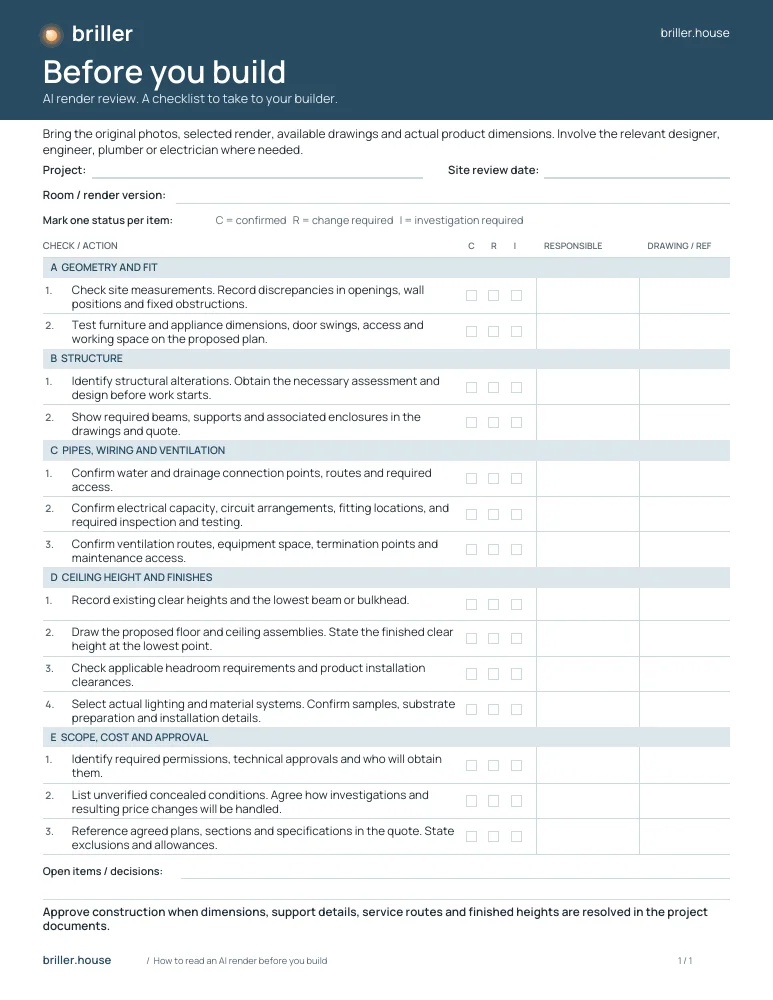
Take this checklist to your builder
Bring the original photos and selected render, along with measured drawings and the actual product dimensions. Get the relevant designer or engineer involved, and bring in the plumber or electrician for the decisions they're responsible for.
Get the free one-page PDF below, with space to record checks, decisions and who is responsible.
FREE DOWNLOAD / ONE-PAGE PDF
Start with your room in Briller.
Sources
The England-specific references support the technical discussion; project requirements come from the rules that apply where the work is being built.
- Royal Institution of Chartered Surveyors. Measured surveys of land, buildings and utilities, 3rd edition, November 2014; reissued December 2023. Sections 4.3.1 and 4.3.3. RICS standard.
- Planning Portal. Building Regulations: Load bearing walls. Publication date not stated. Guidance for England. Load-bearing walls.
- HM Government. Approved Document H: Drainage and waste disposal, 2015 edition. H1, performance provisions and paragraph 0.2. Guidance for England. Approved Document H.
- HM Government. Approved Document P: Electrical safety - Dwellings, 2013 edition. Sections 1 and 3. Guidance for England. Approved Document P.
- U.S. Department of Energy. Consumer Guide to Energy-Efficient Lighting, August 2021. Lighting guide.